Becoming an active stand-up paddle boarding enthusiast or if you work SUP into your exercise routine it can be fun and adventurous. Unfortunately, having too much fun on the water will inevitably result in damage to your board.
With ample time and the appropriate supplies, you can fix minor dings, punctures, and scratches yourself before they become bigger issues. Here’s what you need to know to repair your soft top board and some signs that a new board should be in your near future.
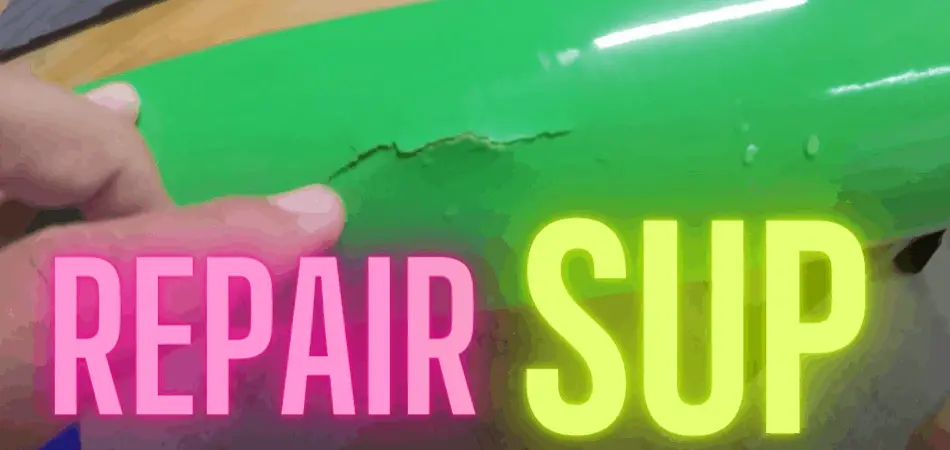
SUP Repair
Inflatables and hard boards are the two basic styles of SUPs on the market. Your choice between the two depends on a variety of factors that include your main paddling location, experience level, and budget.
No matter whether you choose an inflatable board for flat-water paddling or a hard board for choppier surf, your board will eventually need some maintenance.
Here are some common repairs for each style of board.
Inflatable SUP Repair
Most inflatable SUPs are made of durable PVC that’s strong enough to resist damage from rocky shorelines or submerged tree branches. However, the PVC and the glue that’s used to construct inflatable SUPs break down when exposed to sunlight over several years. Once their materials weaken, these boards are more susceptible to tearing.
If you notice that you can’t finish your paddling excursion without your board slightly deflating, it’s likely that you have a small leak that you need to repair.
You can fix minor leaks from small punctures or tears at home with the right set of patches and glue. The hardest part about repairing an inflatable SUP may be finding the leak in the first place.
More than likely your inflatable SUP will only suffer from a few scuffs to its protective coating. When left unchecked, these spots are prone to more expensive wear and tear.
To fix this issue, apply a flexible urethane coating product such as Aquaseal Adhesive that’ll renew your board’s protective surface.
Hard Board SUP Repair
Your typical hard SUP has a foam core that’s covered in several layers of epoxy and fiberglass. The results are SUPs that look and maneuver like traditional surf boards.
Hard SUPs are constructed to easily glide through rough waters. However, their lightweight fiberglass and epoxy frames can get chipped, dinged, or cracked due to accidents or carelessness.
SUP Repair Kits or Materials You May Need
The repair supplies that you will need depends on your style of board and your SUP’s level of damage. Here are some of the top repair kits for inflatable and hard board SUPs.
Inflatable SUP Repair Kits
Many inflatable SUPs come with repair kits from the manufacturer. If yours didn’t or you bought a used SUP, you can get a repair kit in stores or online for less than $30.
Most inflatable SUP repair kits come with PVC patches and adhesive. To fix valve leaks, look for a SUP repair kit that contains a valve wrench.
Other repair kits only rely on adhesives to fix small tears or punctures. PVC Stitch can be used in place of a patch-and-glue SUP repair system.
The liquid spreads like glue but forms a solid seal that acts as a patch for small holes and tears. The PVC Stitch solution forms a patch that’s flexible, strong, and completely water resistant.
Hard Board SUP Repair Kits
Many seasoned paddle boarders won’t hit the water without some of these repair kit essentials.
For minor dings, you can use a quick-curing epoxy product such as Solarez UV Cure Epoxy Ding Resin to smooth out your board for a clean finish.
If your hard board has larger cracks, you’ll want to purchase a repair kit that allows you to fix structural issues. Top-rated repair kits such as Ding All Epoxy Repair Kit typically contain these items.
- Fiberglass cloths
- Resin
- Hardener
- Sanding pads
- Stirring sticks
- Cover sheets
- Mixing cup
You supply the gloves and mask.
How Do You Fix a Split Paddle Board
Fixing a split SUP takes a little bit more time to do than repairing minor dings and scratches. Start your project by cleaning and drying the damaged area of your board.
Use a sanding tool to clean around the split and roughen the area for better adhesion. When sanding down the split, you’ll want to remove pieces of broken epoxy and fiberglass and get down to solid fiberglass.
After preparing the area, clear away the sanding dust to begin the repair.
Follow these 10 steps for a general split repair.
- Mix one part hardener to two parts resin to create your epoxy.
2. Fill in the split with your epoxy.
3. Layer epoxy-soaked fiberglass cloths over the damaged area.
4. Smooth out the fiberglass cloth to remove any air bubbles.
5. Seal the split with a final layer of epoxy.
6. Let it dry.
7. Sand down the area to remove excess epoxy and fiberglass.
8. Clear sanding dust from the completely smooth area.
9. Paint the area.
10. Cover with a top coat of clear epoxy to create a hard, protective shell over the newly painted surface.
Consider Purchasing a New SUP If You Are Tight On Time
While SUPs are designed to last, there are some circumstances that will send even well-made boards to the dumpster.
Case #1
You consistently leave your inflatable SUP fully inflated in your hot garage. The air expands and causes leaks to large portions of its seams.
Case #2
You don’t properly secure your hard SUP to your car’s roof rack. The board goes sliding off the roof into oncoming traffic. Your board is broken in half, and those pieces have major cracks.
In both of these cases, you’ll want to save yourself some time and go shopping for a brand new board.
Final Thoughts
If you’re like many SUP fans, you just can’t get enough of the activity. It’s the perfect combination of mental relaxation and full-body workout. While a malfunctioning board can put a kink in your quality of life, maintaining it properly is a worthwhile investment in your health and well-being.